Winter Sowing in milk jugs has been enjoyable and successful here for the past several years. Having a seed-starting project in January is akin to browsing the seed catalogs – an opportunity to plan for, and dream about, the next growing season, with the added benefit of actually working with seeds and planting mix.
While winter sowing in milk jugs has a lot going for it (readily available materials, lots of information and guidance available, high probability of at least some success), I am always on the lookout for ways to streamline processes. I’ve tried storing used winter sowing milk jugs but cleaning them isn’t a piece of cake and storing more than a few is difficult. So this year I am trying something new.
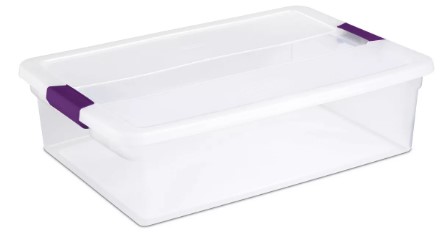
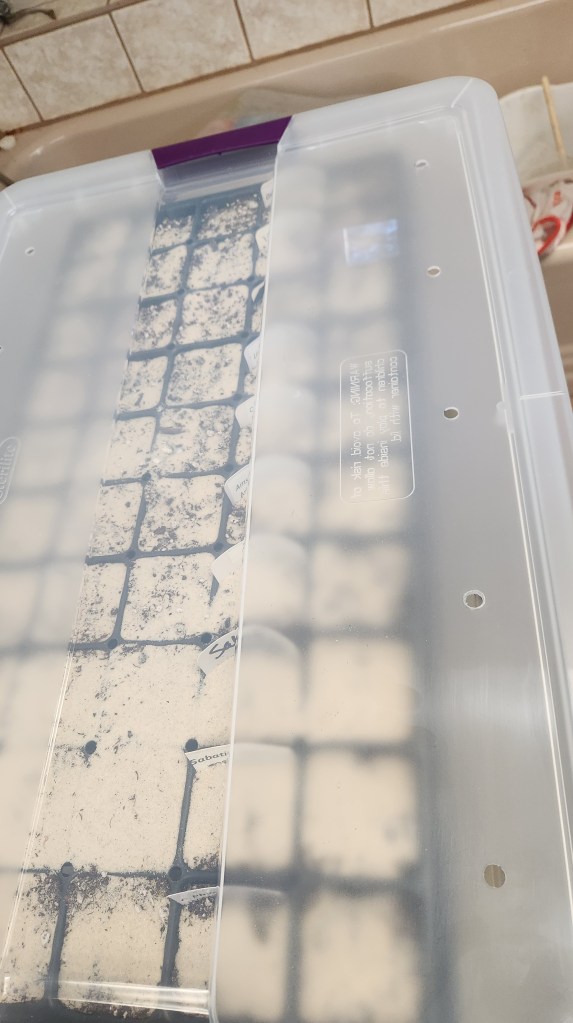
Gerry Brevoort, a gardening friend in Clintonville, has used clear plastic bins and seedling flats for a couple of years with good success and I decided to try this technique. I already had deep seedling flats, which I ordered some years ago for starting native grasses which have famously deep roots. I was able to find clear plastic totes with clear lids with outside dimensions of 23 5/8″ x 16 3/8″ x 6 1/2″ and inside dimensions of 20 5/8″ x 14″ x 6 1/8″.
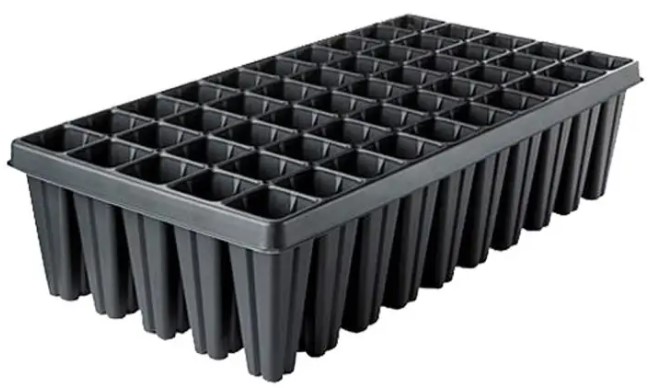
The seedling flats are a heavy gauge forestry style flat. They should hold up very well through multiple seasons, through even the coldest outdoor temperatures. I decided to plant three of these, each of which has 50 cells. I would plant seeds in each 5 cell row (or 2-3 rows) per species, a total of 19 species. These were a combination of harvested and purchased seeds. (Species are listed at the end.)
The tote and seedling flat should work well together for outside seed starting. The seedling flats will accommodate growing roots, and many of the native plants I’m starting will work on root growth well before much stem and leaf growth. This means the seedlings can stay in the tray for much longer. Once there is adequate top growth, the seedlings can be potted up or moved to a nursery bed. There will be no need to tease apart plants or cut a block of seedlings as is necessary with traditional winter sowing in milk jugs. When the seedlings have been removed, clean up should be fairly quick with a bottle brush and scouring pad. Finally, both the totes and the seedling flats will store compactly.
My goal was to get flats outside by early January. In years past, when it got much later than that, we had some warm spells which may have interfered with the stratification (cold period) required by the seeds to break dormancy. Last month we brought in the planting mix from outside where it had been waiting so it wouldn’t be frozen when I was ready to begin.
The materials I gathered included:
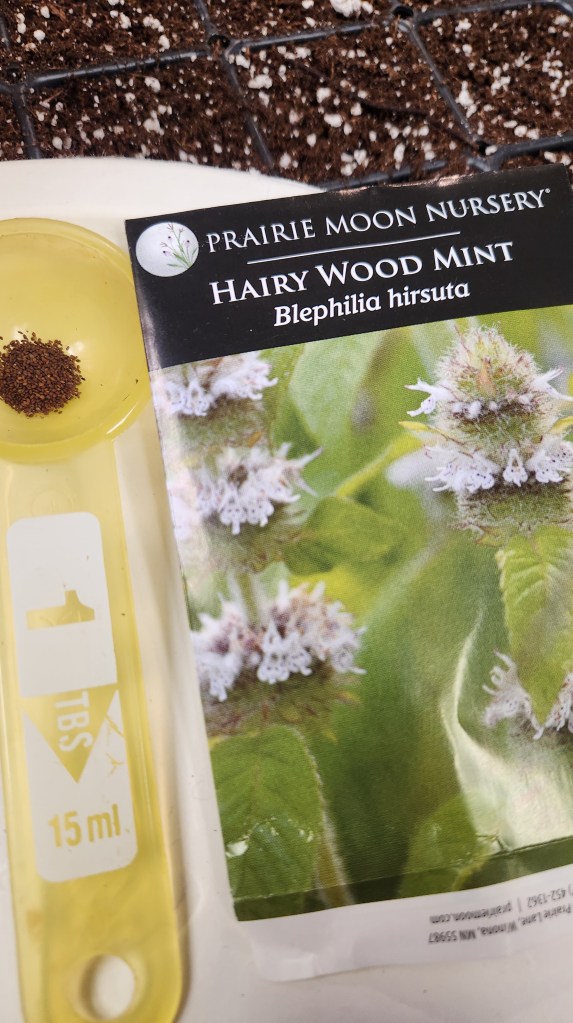
- Seeds
- Totes
- Seedling flats
- Planting mix and a scoop
- Sand (optional)
- Gardening gloves
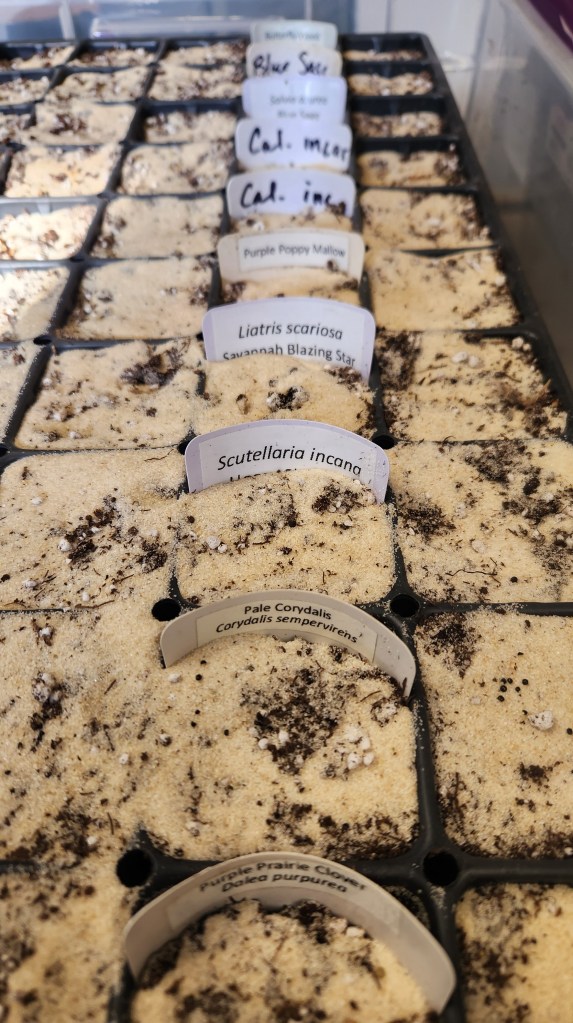
- Plant markers and labels
- Watering can with a fine sprinkle
On January 11th I was finally able to plant the seeds.
Randy drilled holes in the totes for drainage and lids for ventilation. The base holes are around the perimeter which is the lowest part of the bin so water can drain out. The top holes are also around the perimeter. The moisture level in the soil should be adequate until germination so holes in the top are not expected to provide moisture. (The bins are easily opened if/when the planting mix begins to dry out.)

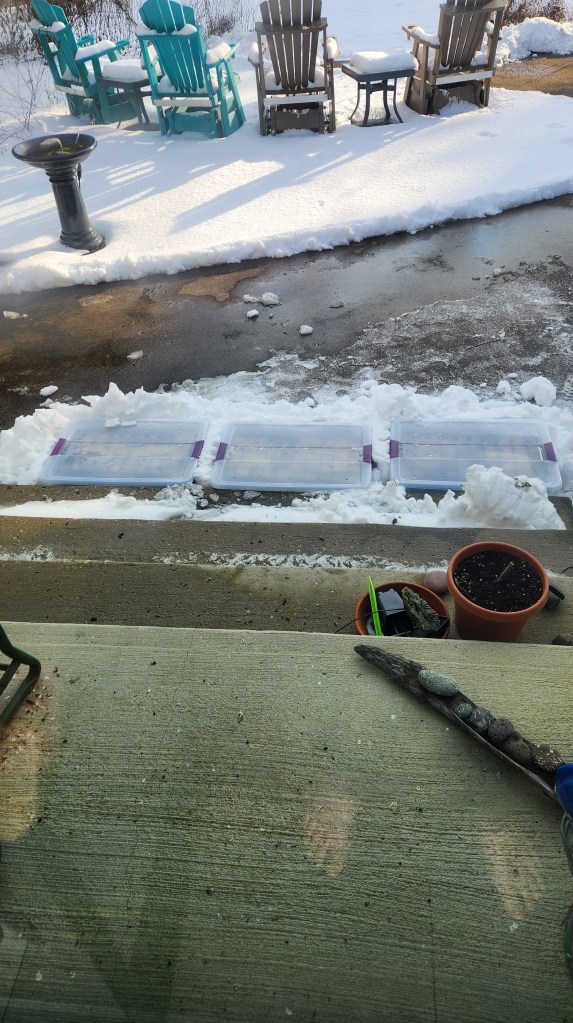
The planting mix I used did not require water before using so I put the seedling flat in a tote and filled with the planting mix. I tapped the flat so the mix would settle then added some playground sand from when I used to use it for stratifying seed in the refrigerator. Now I could more easily see where the seeds landed. I sprinkled seeds into the cells, planting a 5-cell row (or couple of rows) of each species. I made sure to put the plant marker in before going to the next planting row. Finally, I sprinkled a bit more sand on top to keep the seeds from floating away, then watered generously. Since I used such deep-celled flats, I had to push the plant markers all the way down, curving at the top, in order to get the lid latched on. Finally, the totes were moved to the bottom of the backdoor stoop where I can keep an eye on them.
Now it’s up to our winter weather and later on, warming temperatures, to provide what these seeds need for germination. Once there is some visible growth, I will remove the lids and attach upturned totes to allow plenty of headroom. I will report back when there are signs of life.


Here are the species I planted in the 3 totes:
| Arkansas Amsonia, Amsonia hubrichtii | Midland Shooting Star, Dodecatheon meadia |
| Columbine, Aquilegia canadensis | Royal Catchfly (Salmon), Silene regia |
| Bradbury’s Monarda, Monarda bradburniana | Pale corydalis, Corydalis sempervirens |
| Blue Sage, Salvia azurea | Palm Sedge, Carex muskingumensis |
| Hairy Woodmint, Blephilia hirsuta | Prairie Blazing Star, Liatris pycnostachia |
| Hoary Skullcap, Scutellaria incana | Prairie Violet, Viola pedatifida |
| Largeflower Bellwort, Uvularia grandiflora | Purple Prairie Clover, Dalea purpurea |
| Little Bluestem, Schizachyrium scoparium | Widow’s Cross, Sedum pulchellum |
| Mexican Hat, Ratibida columnifera | Wild Sweet William, Phlox maculata |
| Wine Cup, Callirhoe involucrata |
Photos by Terri Litchfield unless otherwise noted
© Terri Litchfield, some rights reserved (CC-BY-NC)
