An overview was given in a November blogpost which stated my intention to do winter sowing at the end of December or very early January. But here it is, the end of January. It’s possible that some of the seeds will not get the full length of cold they require because I got started so late. But here’s how it went.
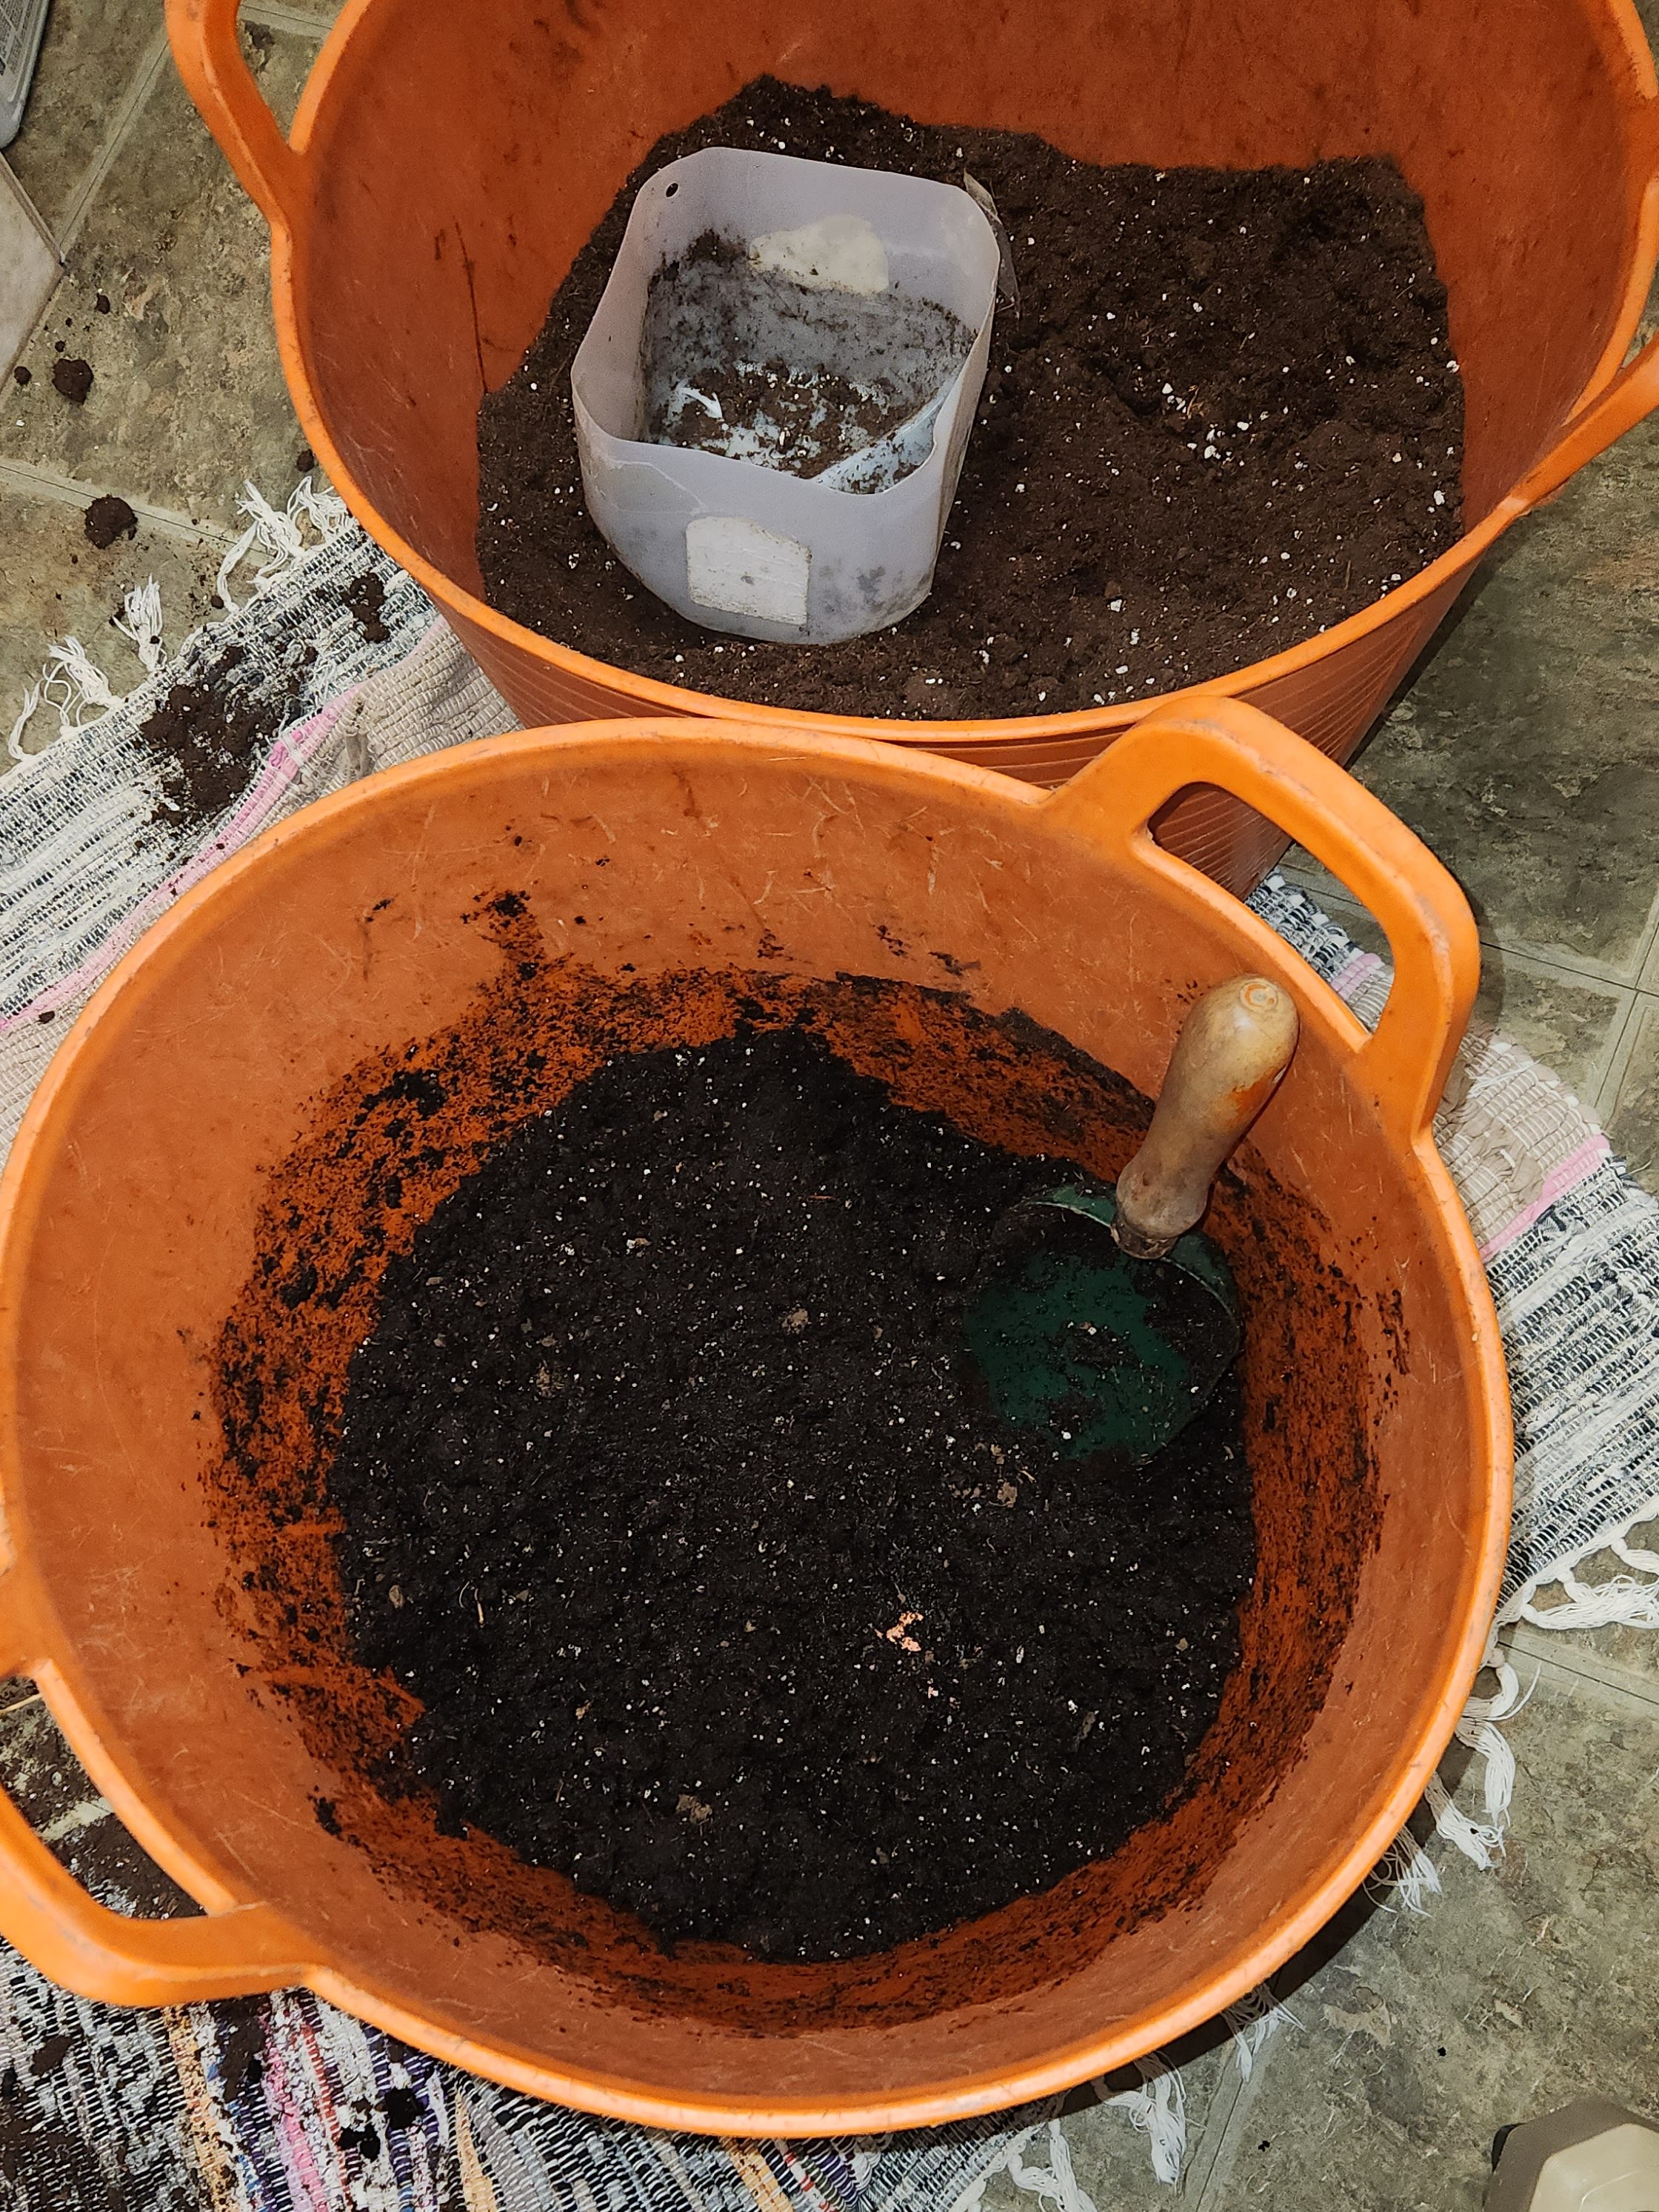
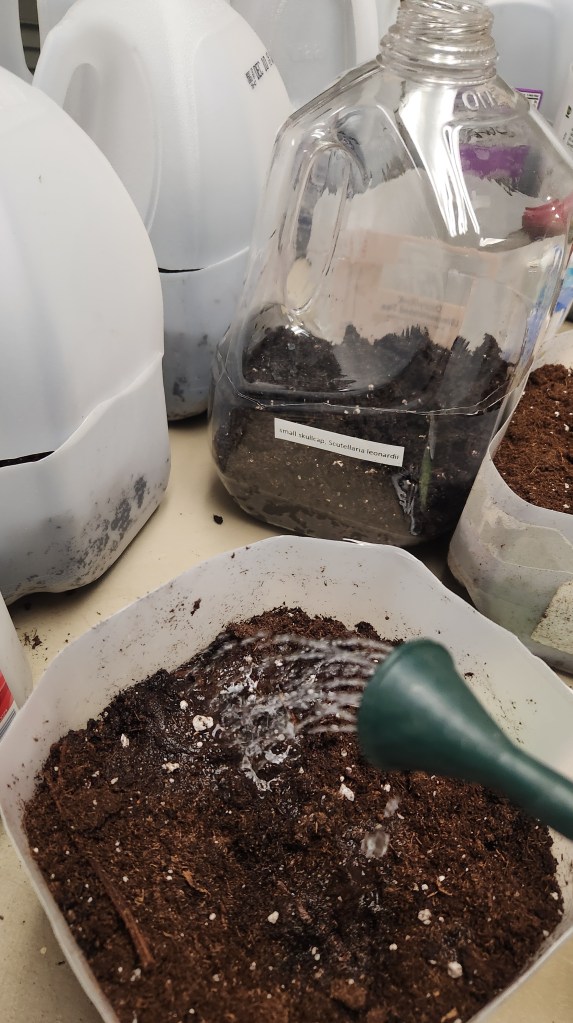
I use Pro-mix as the planting medium. It has yielded consistently good results for me in the past. I filled two large buckets with it and poured about three gallons of water in one of them. This sat overnight to ensure that the medium had fully absorbed the water. The dry Pro-mix will cover the seeds later. The moisture level is important. Too wet and the seeds will rot, too dry and the seeds won’t have enough moisture to germinate. I like it on the moist side but water shouldn’t drain out the bottom. With this moisture level, the jugs might go into spring with no additional watering. The condensation from the jug will maintain the moisture.
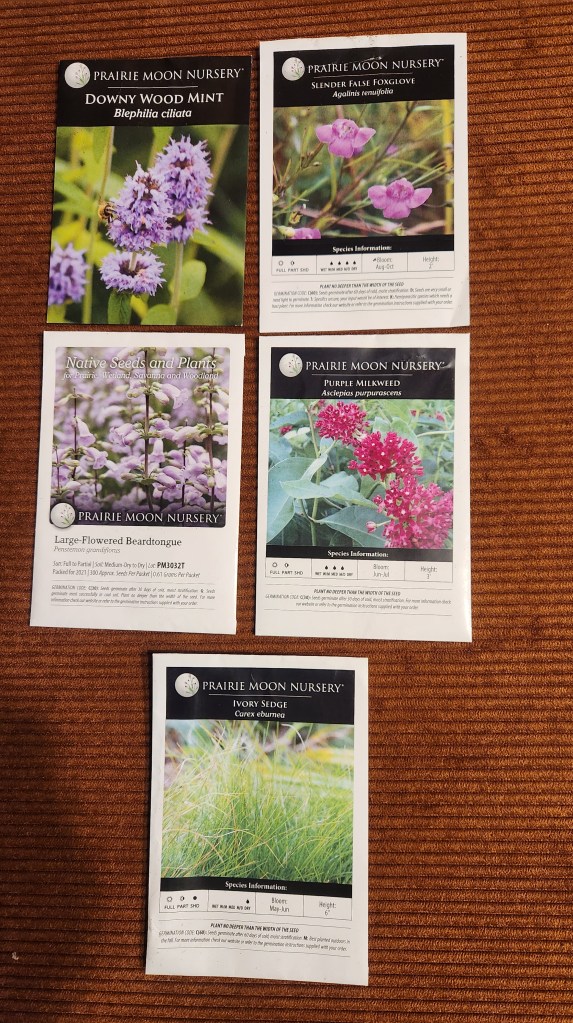
The purchased seeds have been in the refrigerator, cold and dry, since fall. I accumulated 12 clean gallon milk/water jugs (one is a large vinegar container) so the first step was determining which seeds to winter sow. I separated out the germination code A from the rest – they require no stratification (cold period) so it would be a waste of a good jug to winter sow them. The rest of the seeds were coded either C(30) or C(60), meaning they needed either 30 or 60 days of cold, moist stratification.
- downy wood mint
- slender false foxglove
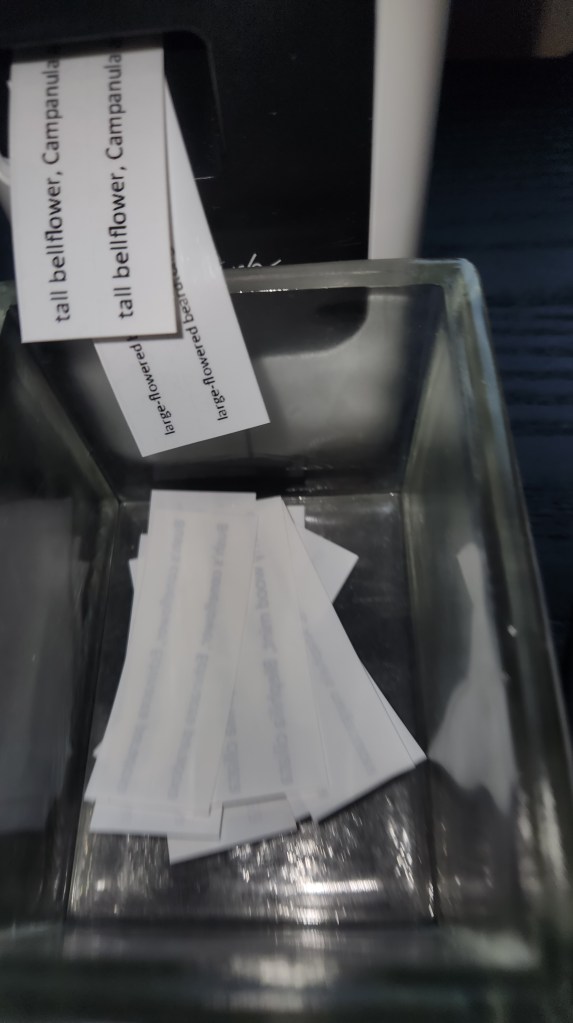
- large-flowered beardtongue
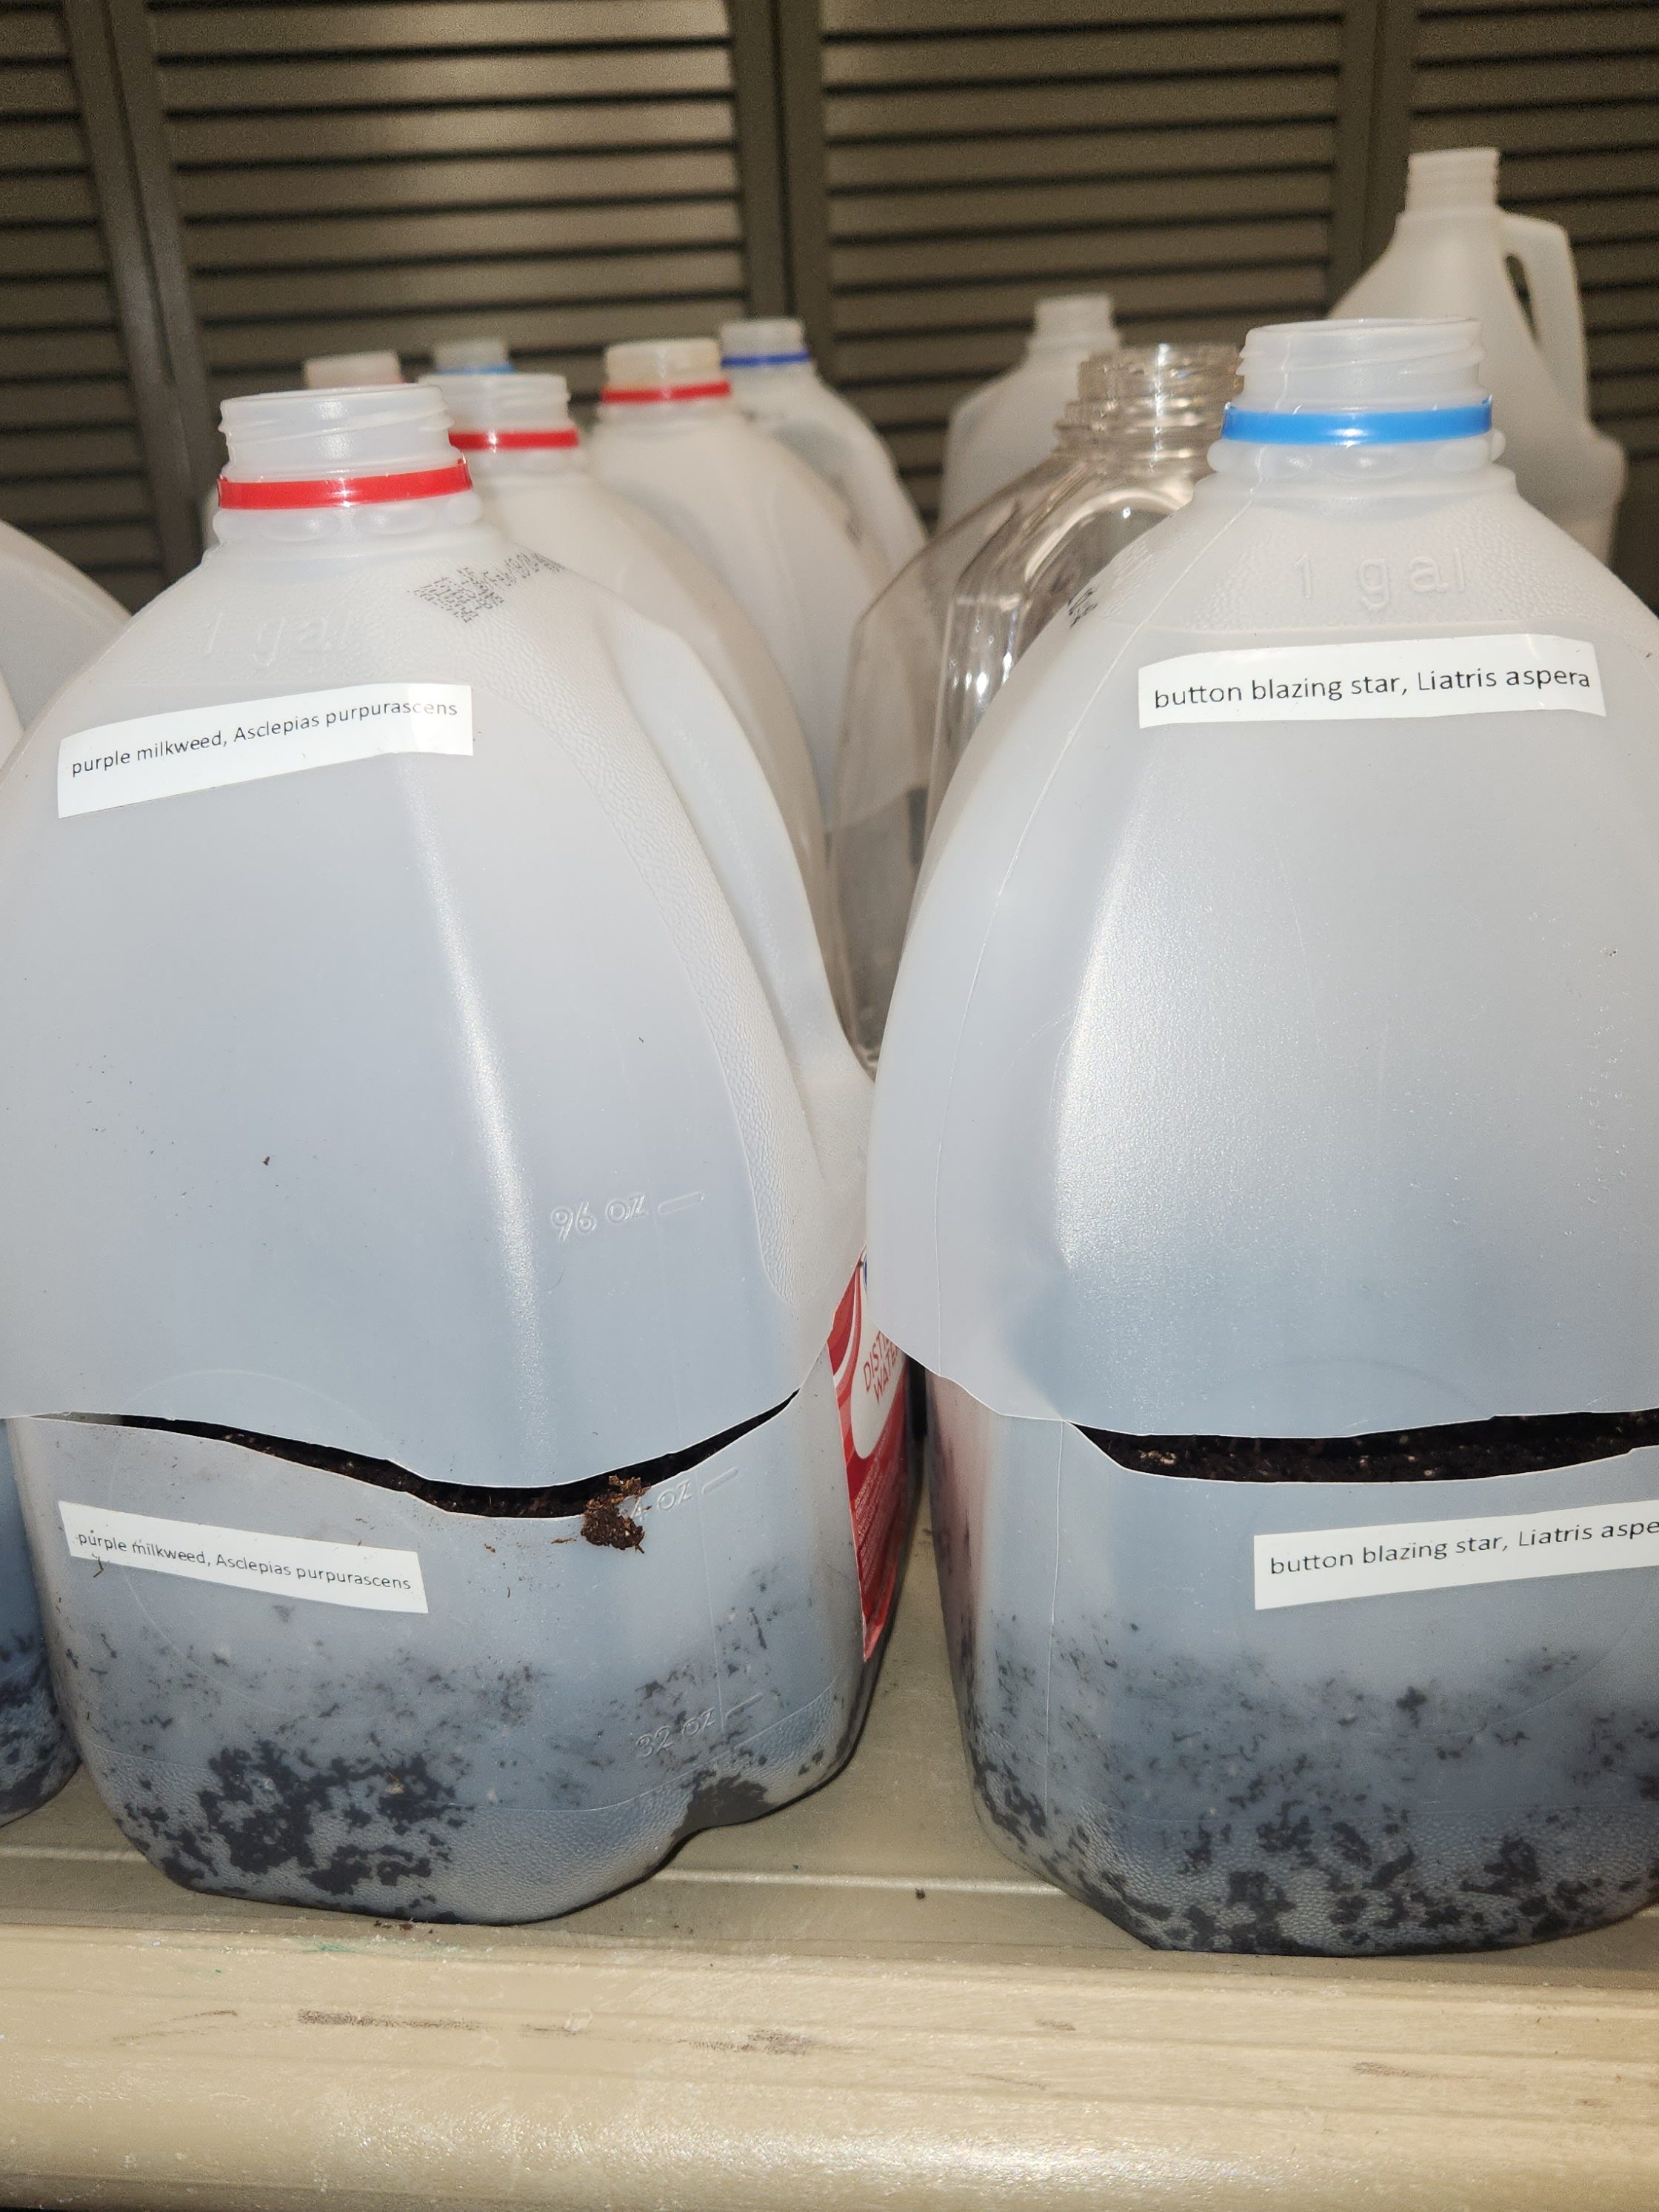
- purple milkweed
- ivory sedge
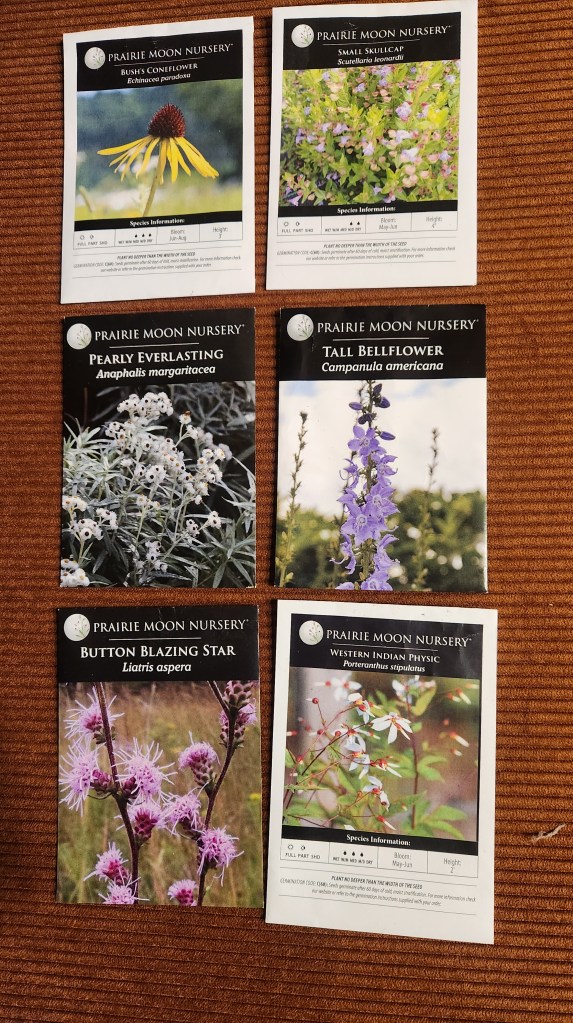
- Bush’s coneflower
- small skullcap
- pearly everlasting
- tall bellflower
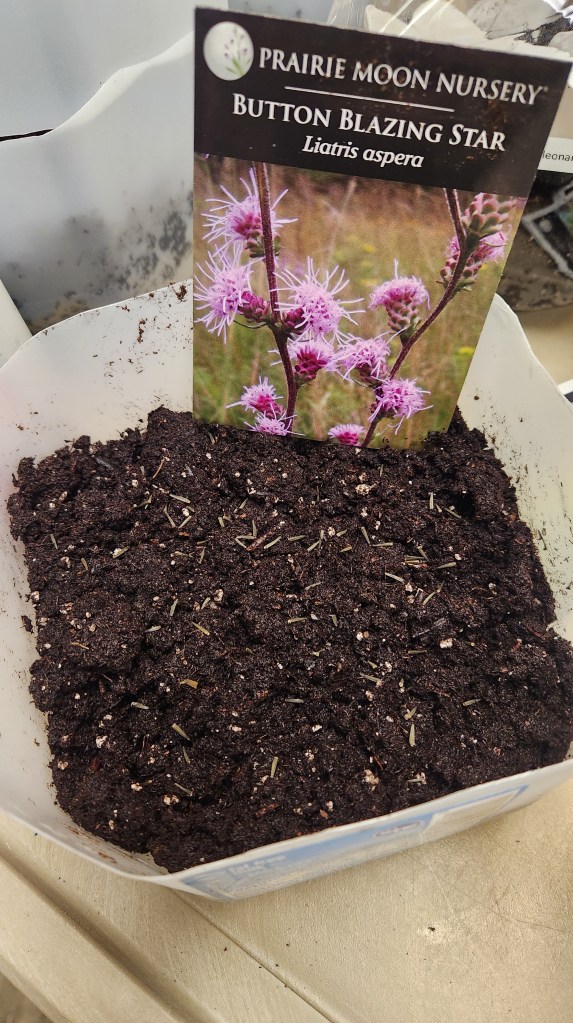
- button blazing star
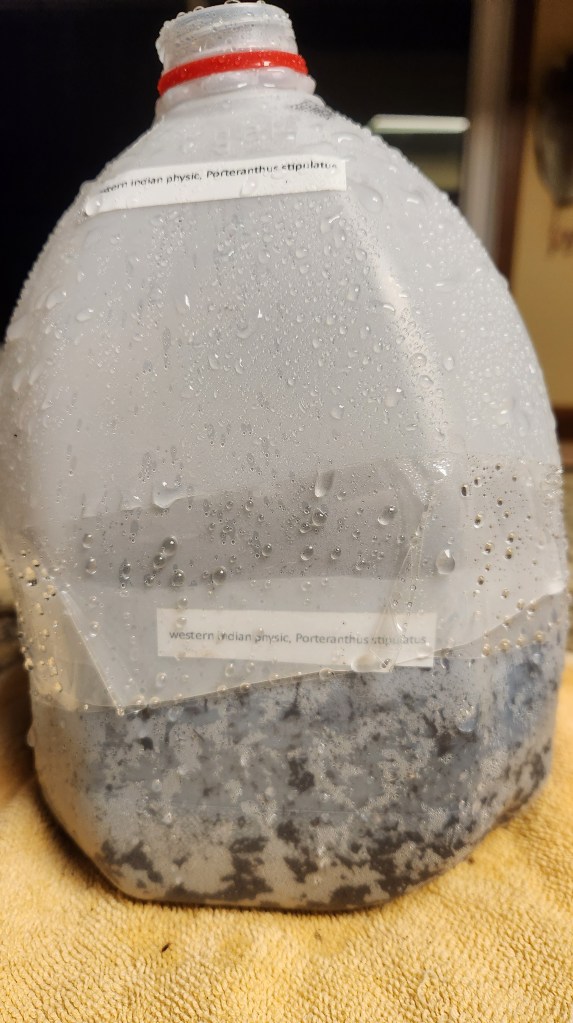
- western Indian physic
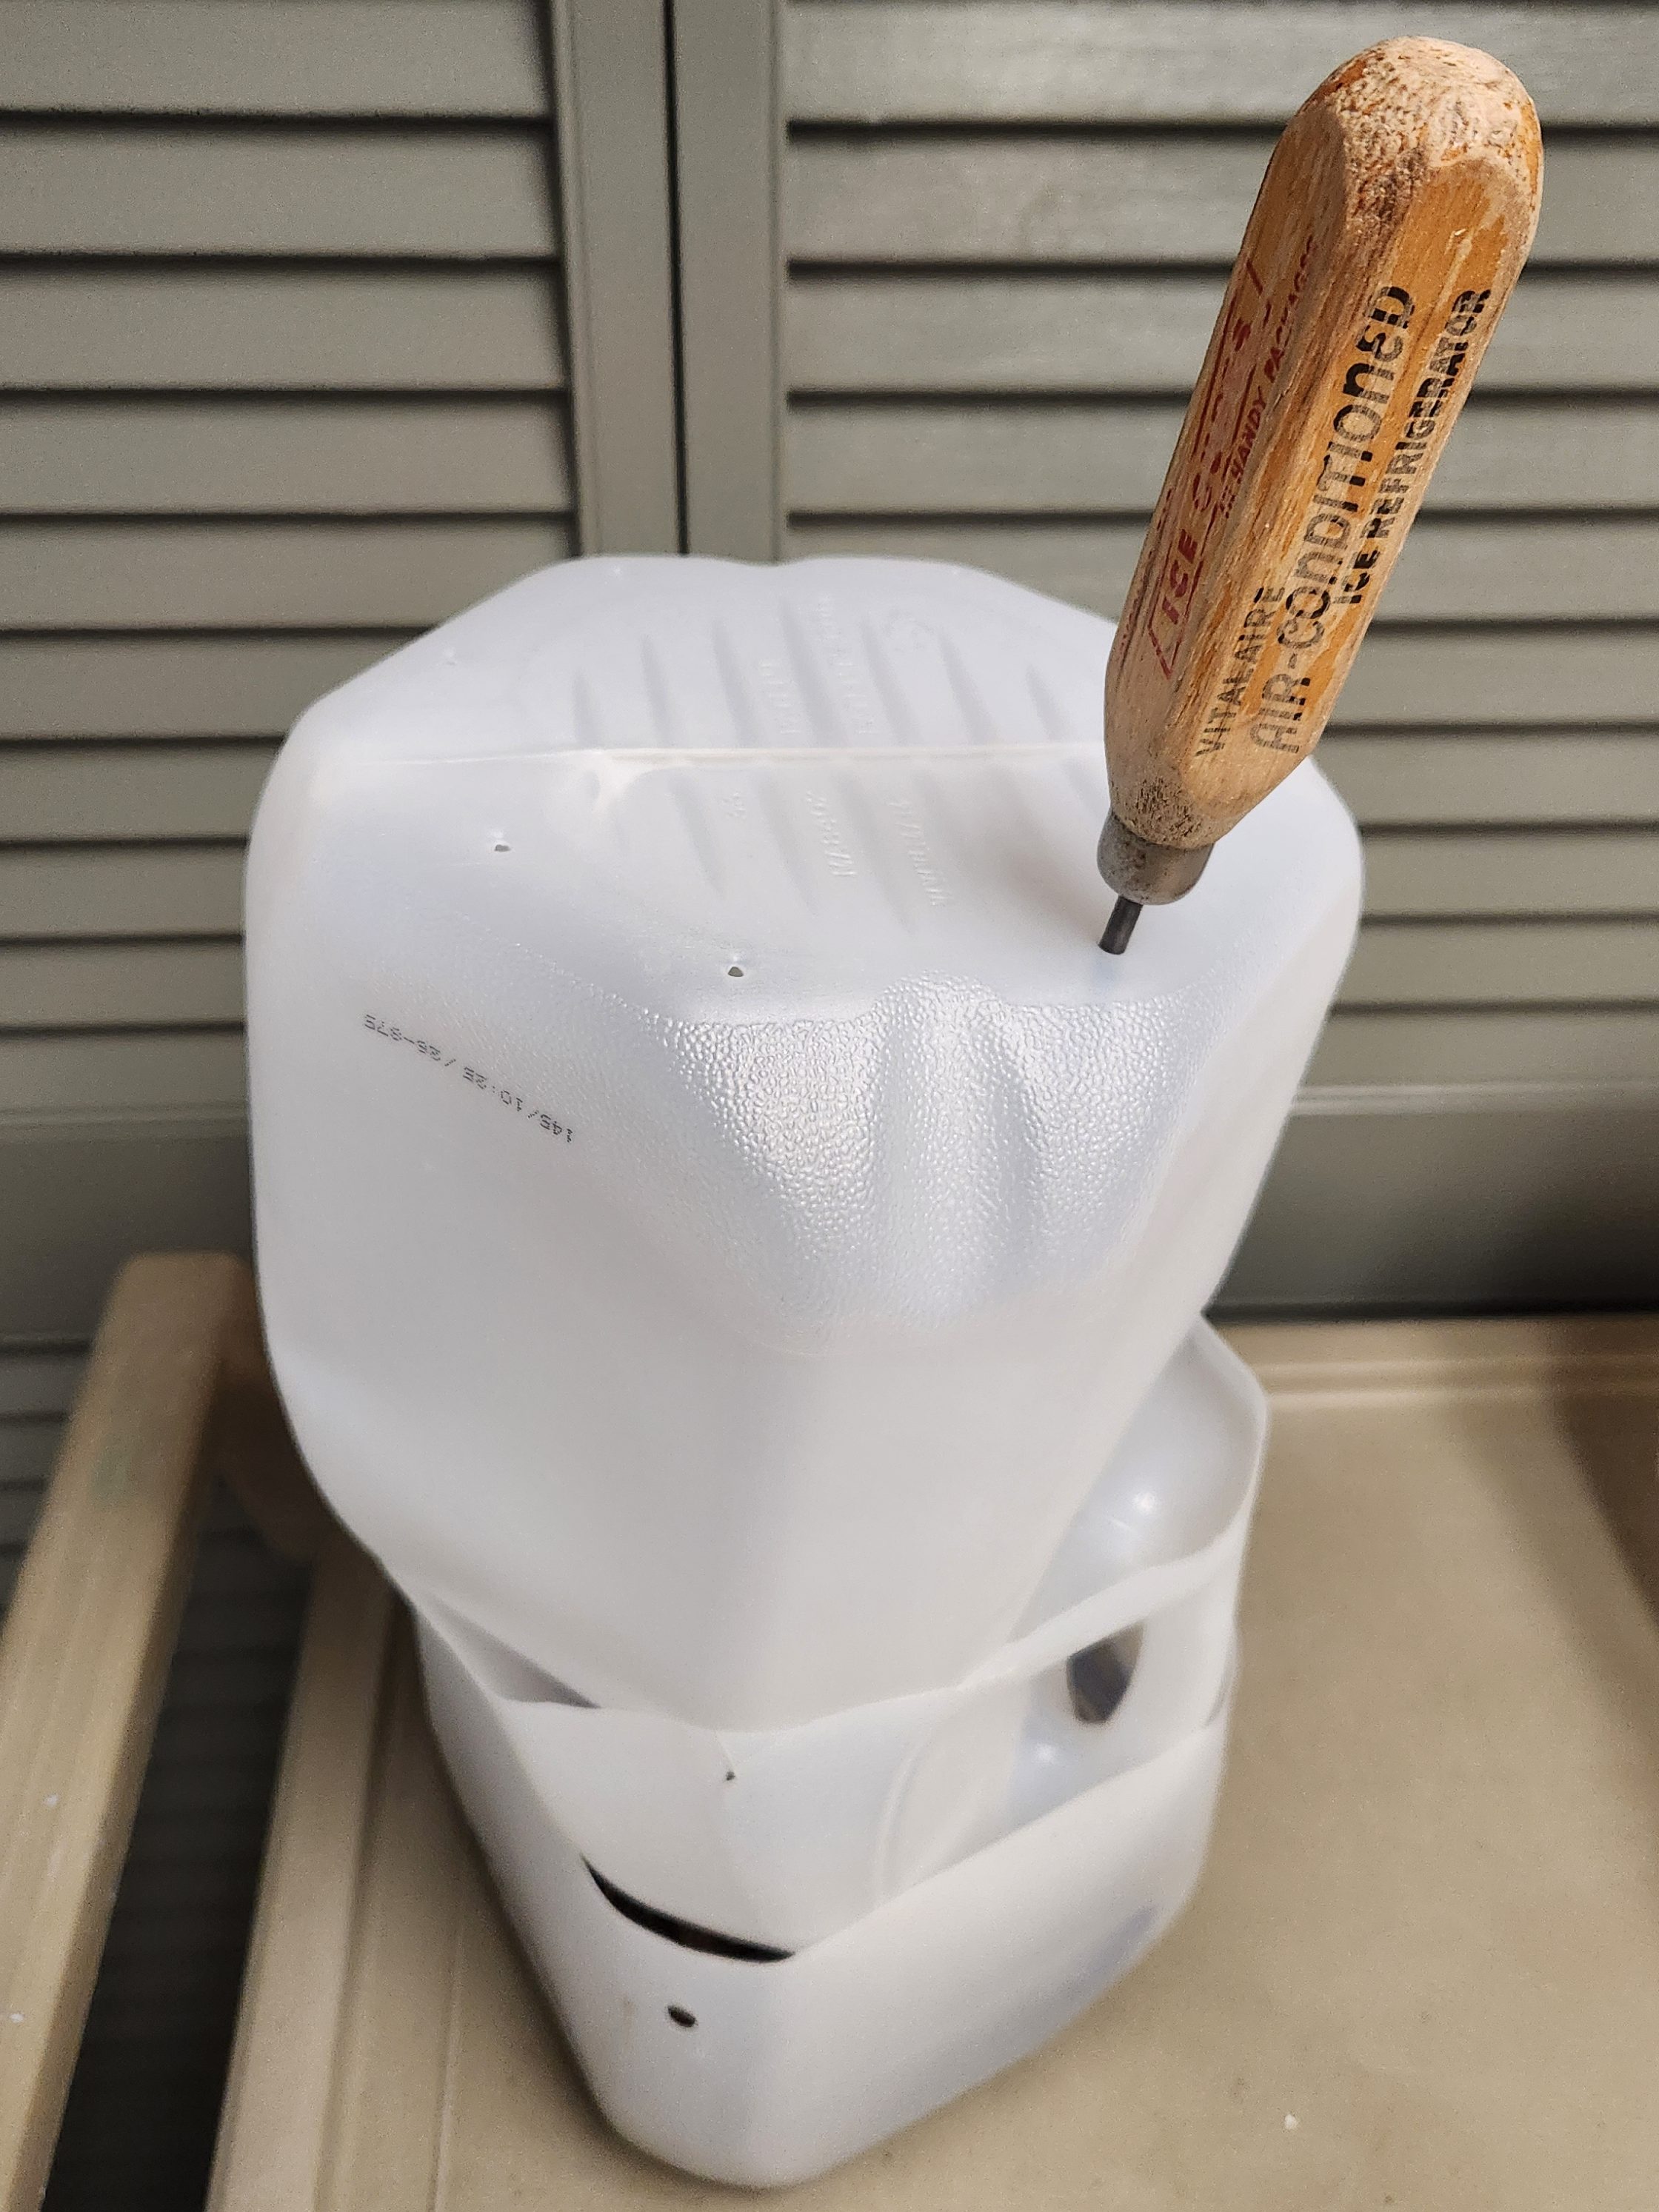
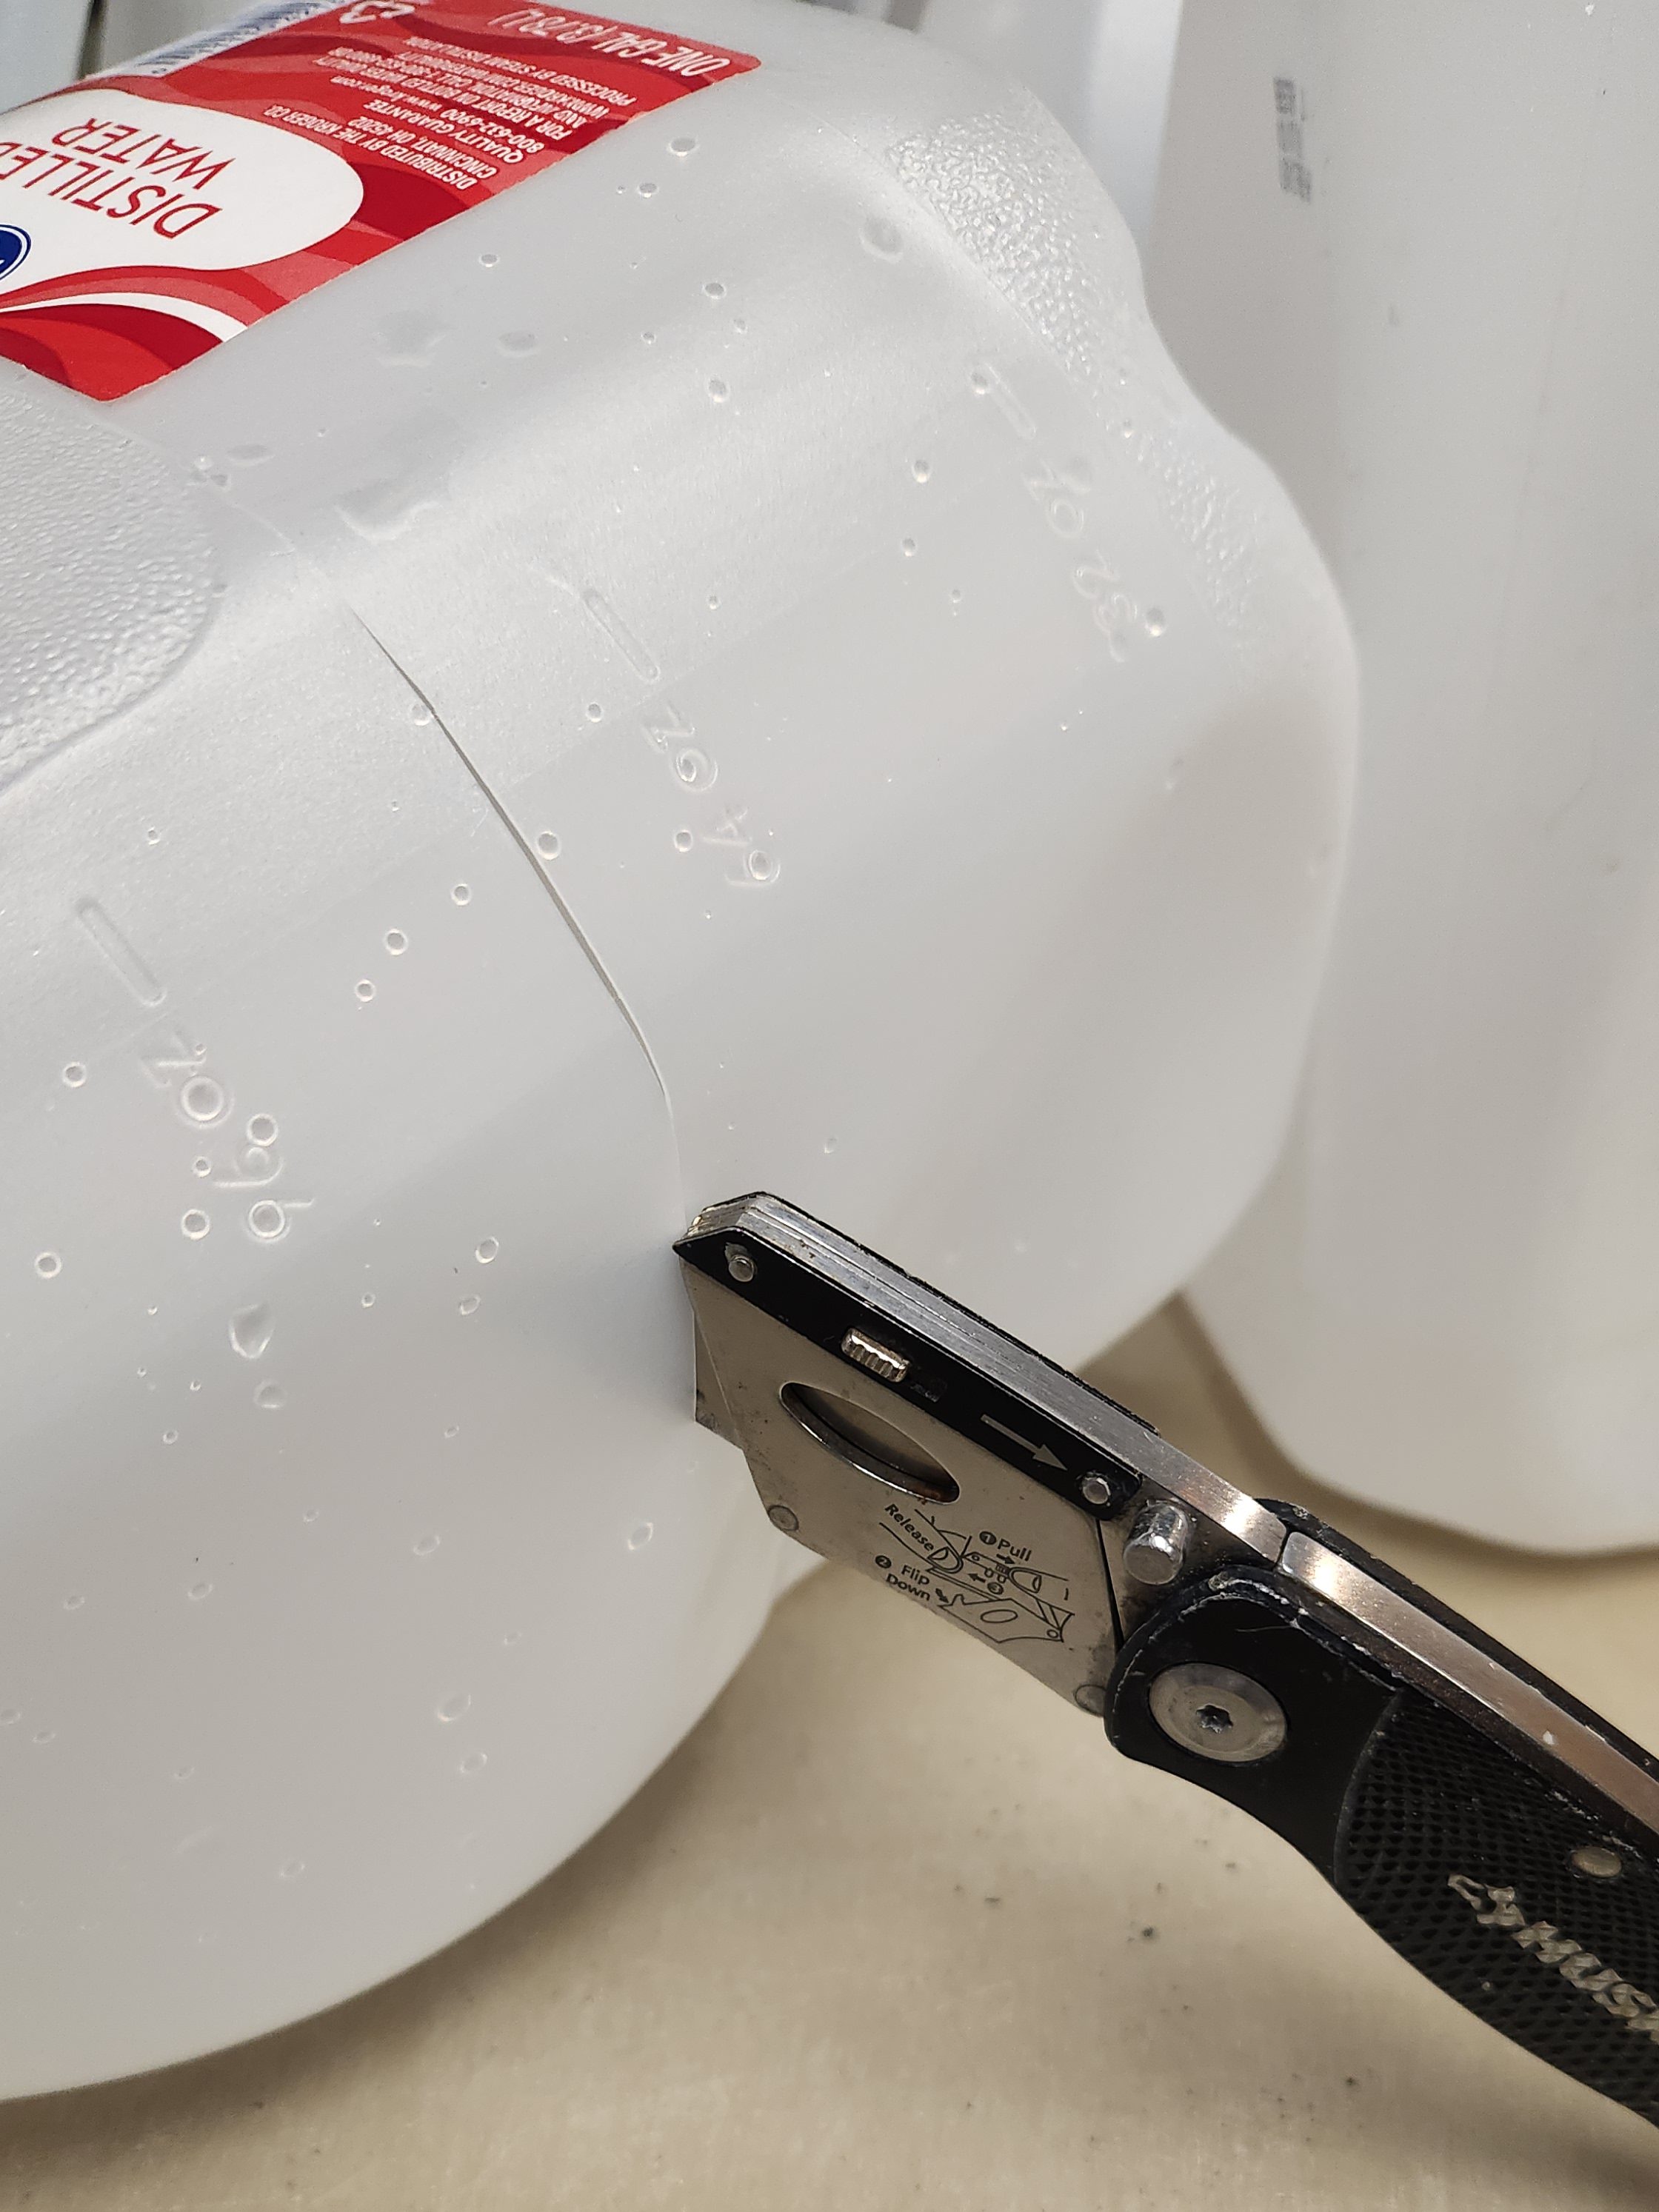
Next I used an ice pick to punch drainage holes in the bottom of the jugs. If there’s still a cap, it’s helpful to have it on so the jug bottom has some pressure against the ice pick. Others use an electric drill or utility knife to create the drainage but the ice pick works well for me. I look at where the jug bottom sits lowest (the bottoms are not flat) and put the holes there so water isn’t collecting in the jug. After punching, the lid comes off and can get tossed.
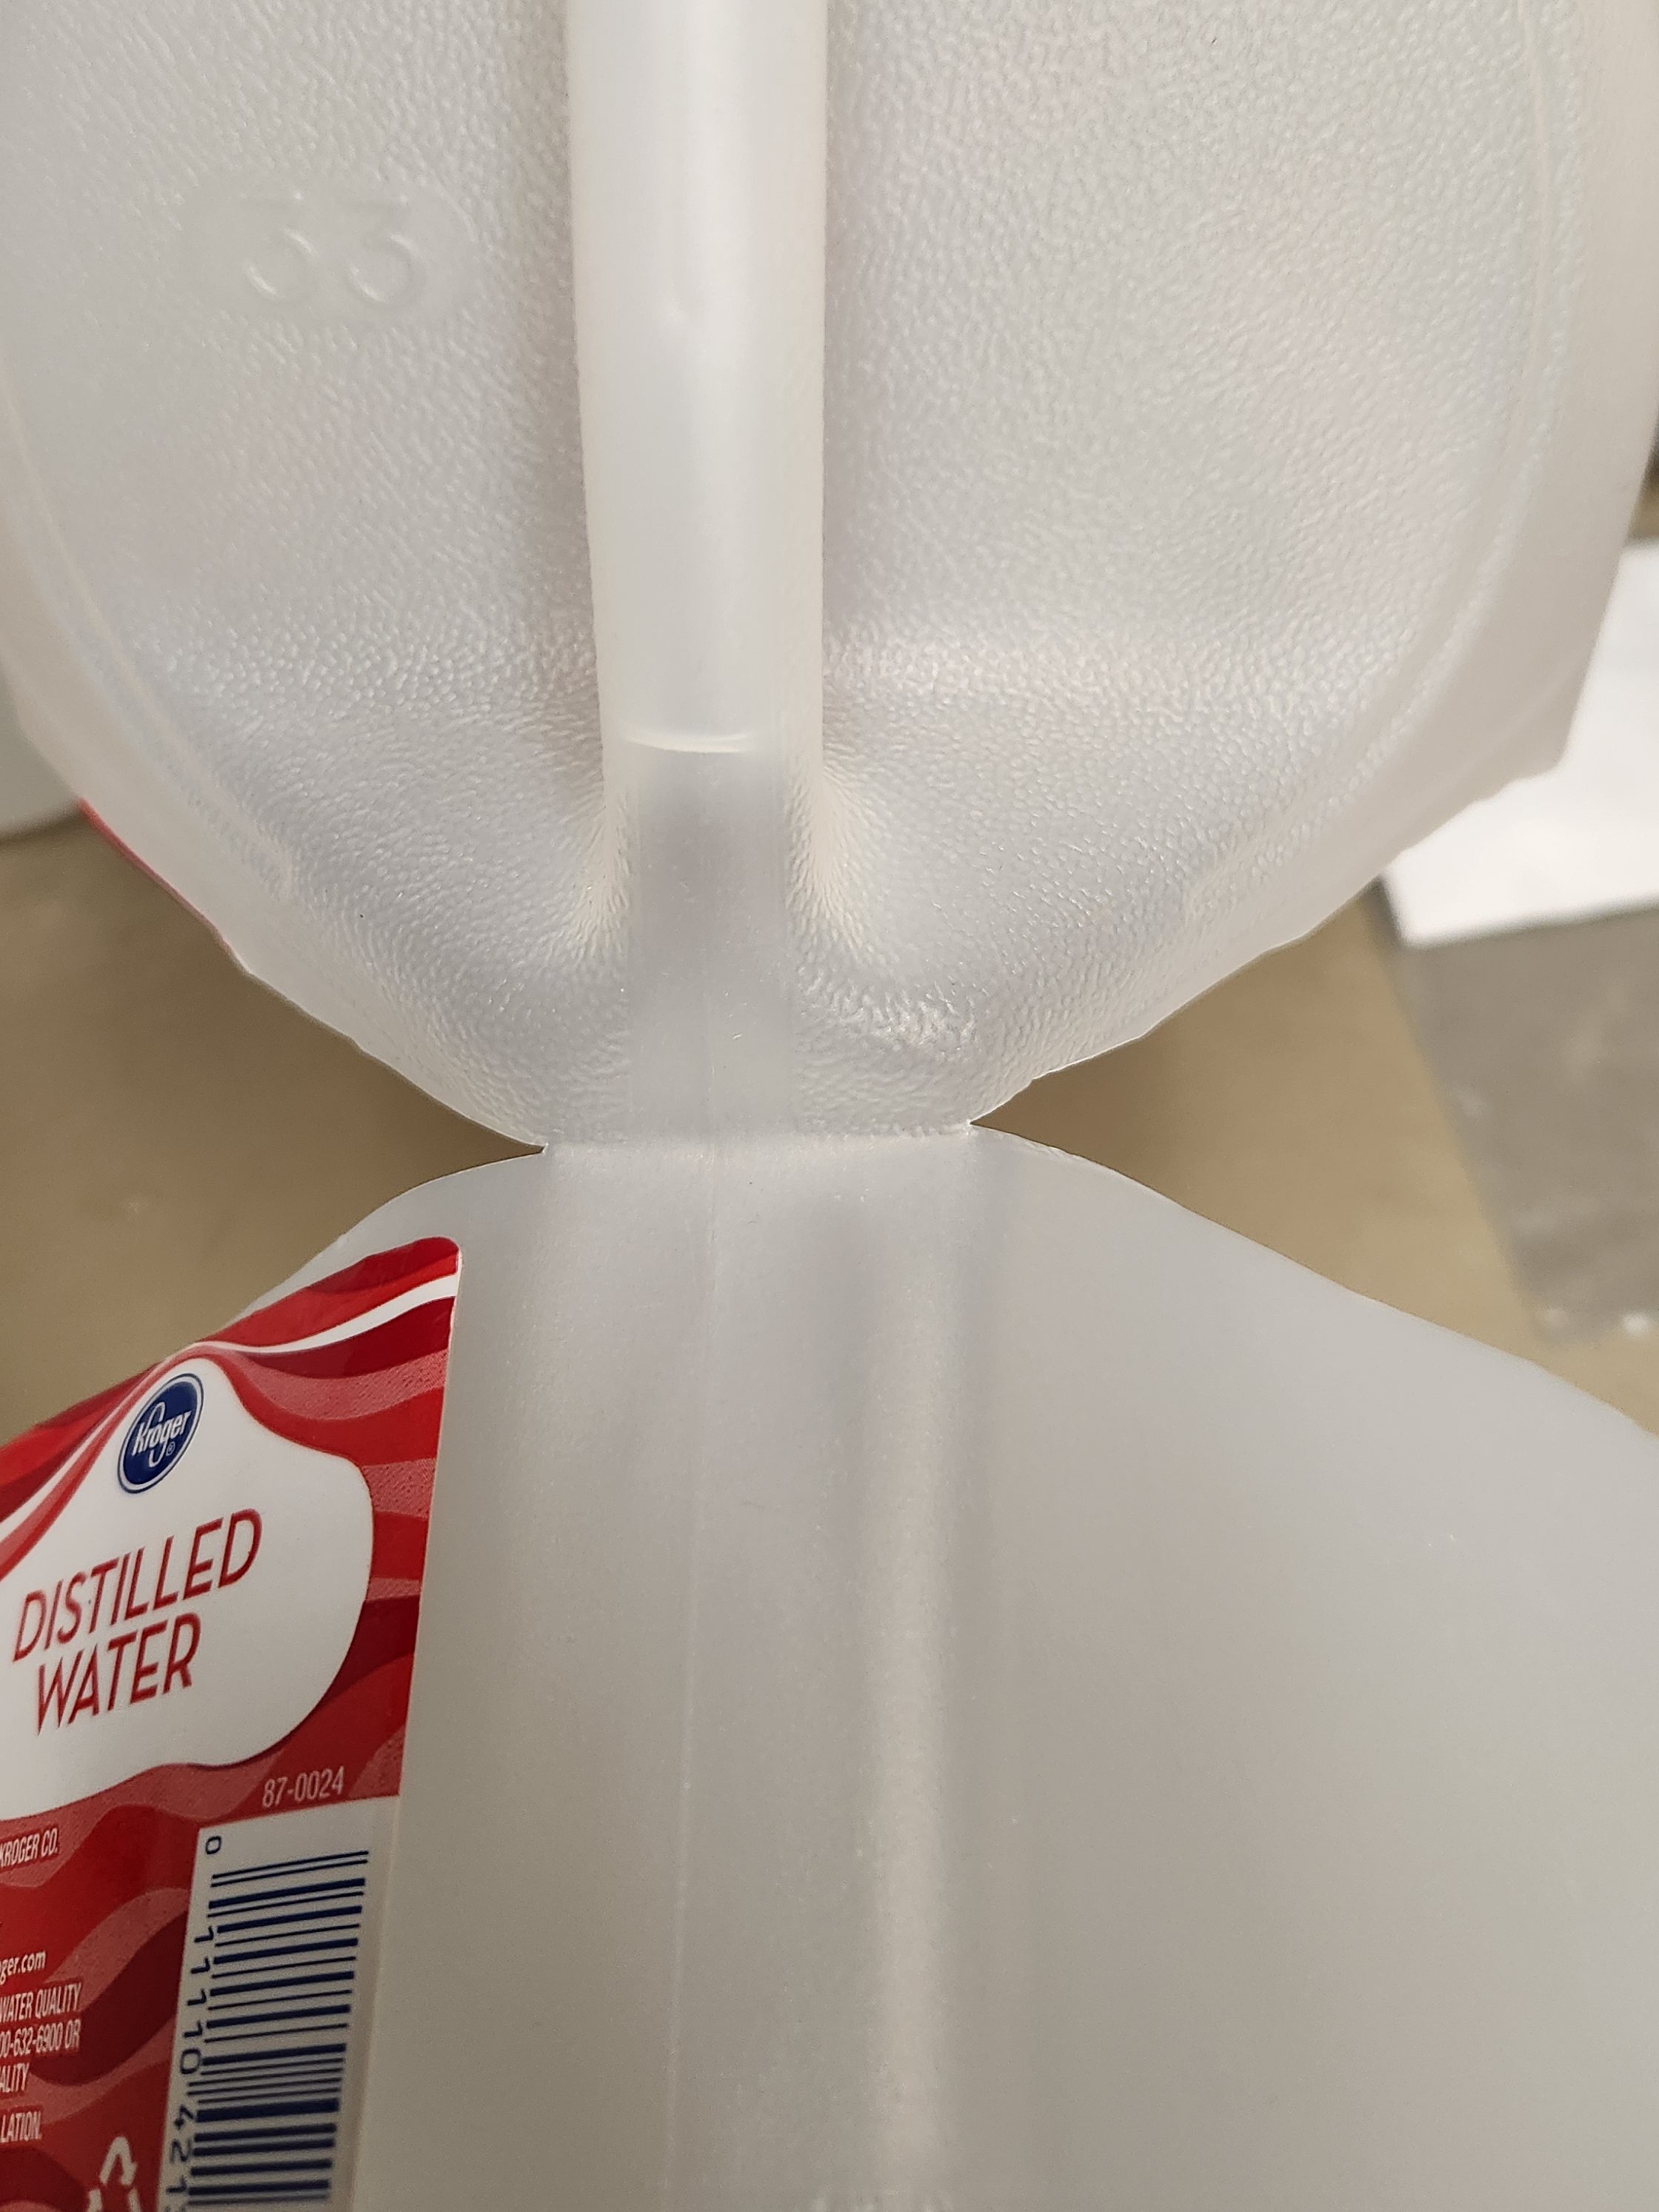
Then I sliced around the middle of the jug, carefully leaving the handle in place so the top is hinged. When weather is warmer, both days and nights, the top will be cut off completely but it needs to stay closed through winter.
Then 4-5” of damp medium is placed into each jug.
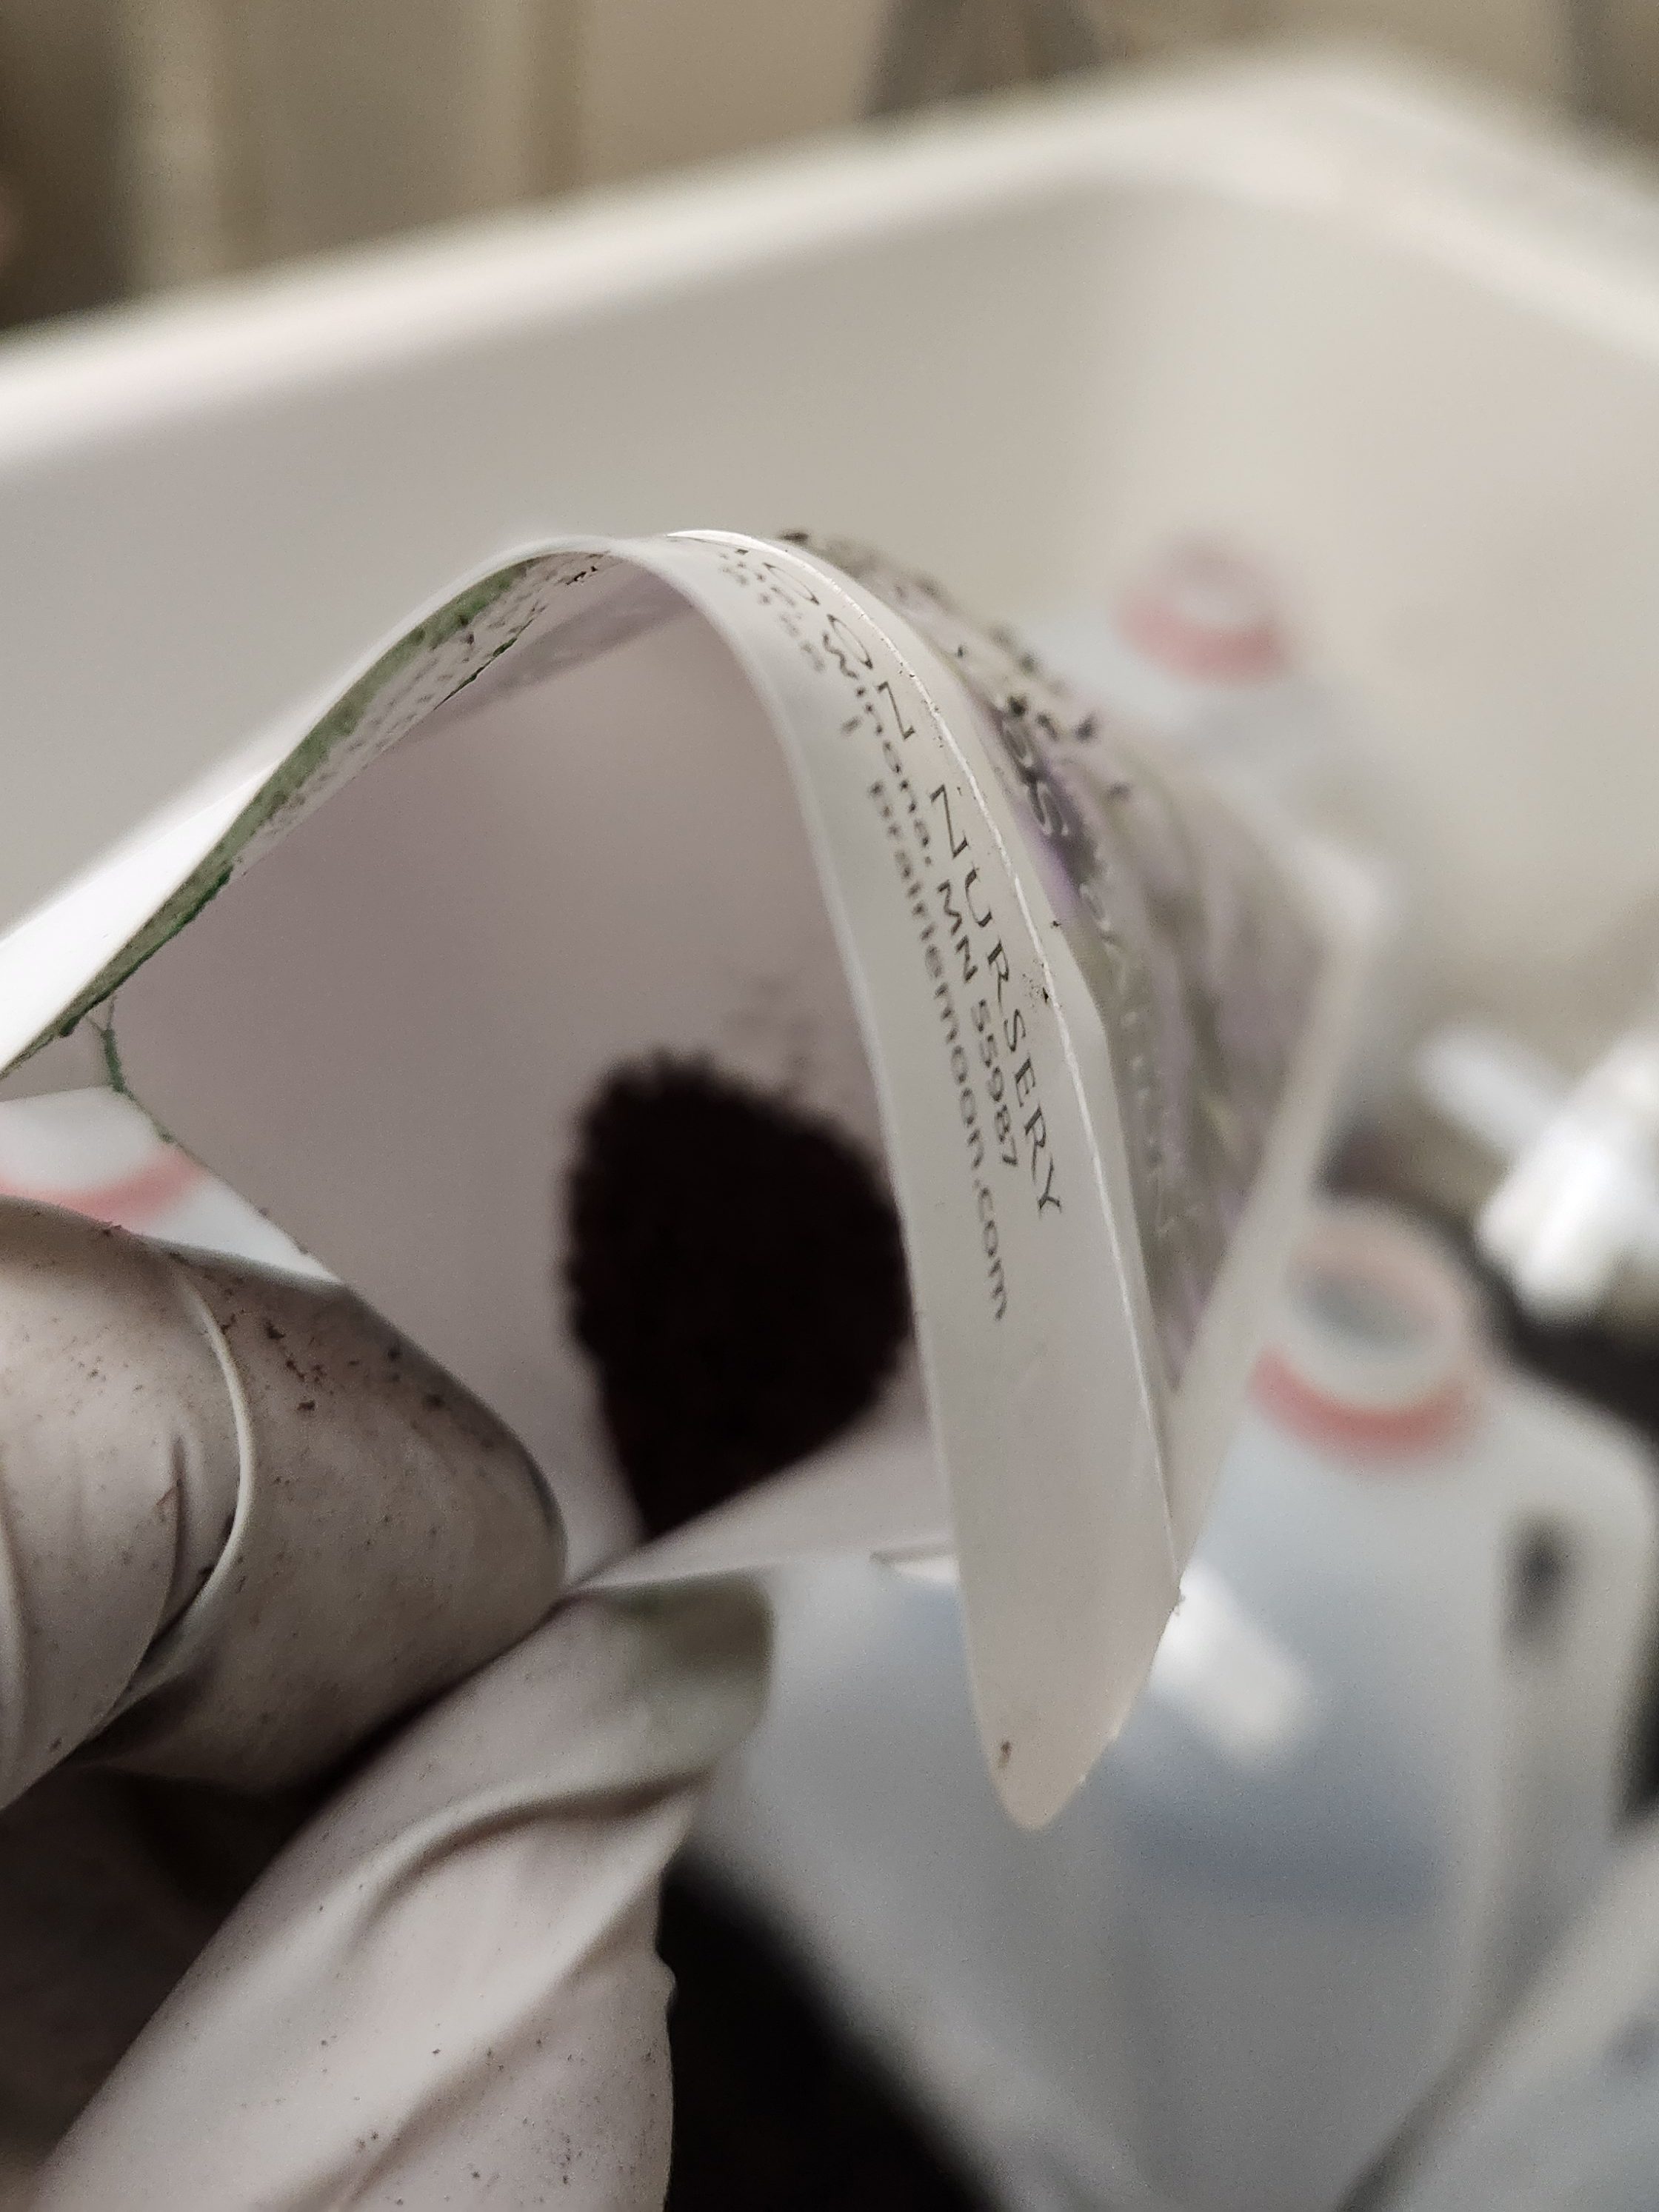
Before starting to fill the jugs, I print two labels for each species. One will be on the top of the jug for easy reading from inside the house, the other will be on the lower half of the jug so when the top is cut off in spring, I won’t lose the species name
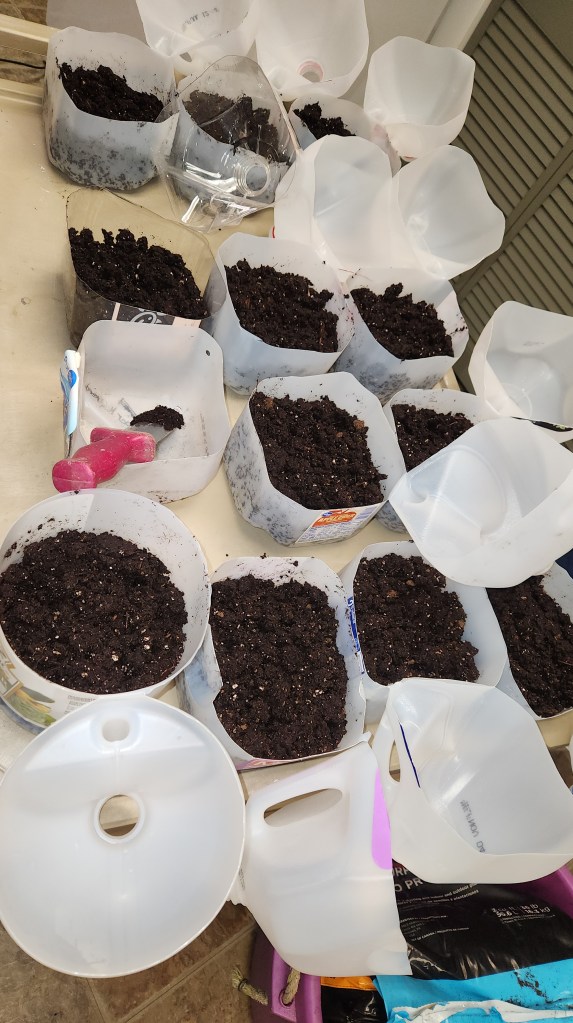
With the jugs all labeled, I’m ready to seed them. I pinch the seed packet and tap the seeds toward the front to give more control when I scatter them on the soil surface.
After scattering the seeds evenly, a handful of dry Pro-mix is added to cover the seeds, it’s pressed down gently, and then it is watered very lightly.
The final step is to close each jug with tape around the middle so it stays closed for the next few weeks. I use regular clear packing tape. Adhere the tape to the jug so water can’t get underneath it when it rains or snows. If it loosens a bit over the winter, it’s fine. I sometimes tuck the top over the bottom half as shown here to keep water out in case the tape pulls away.
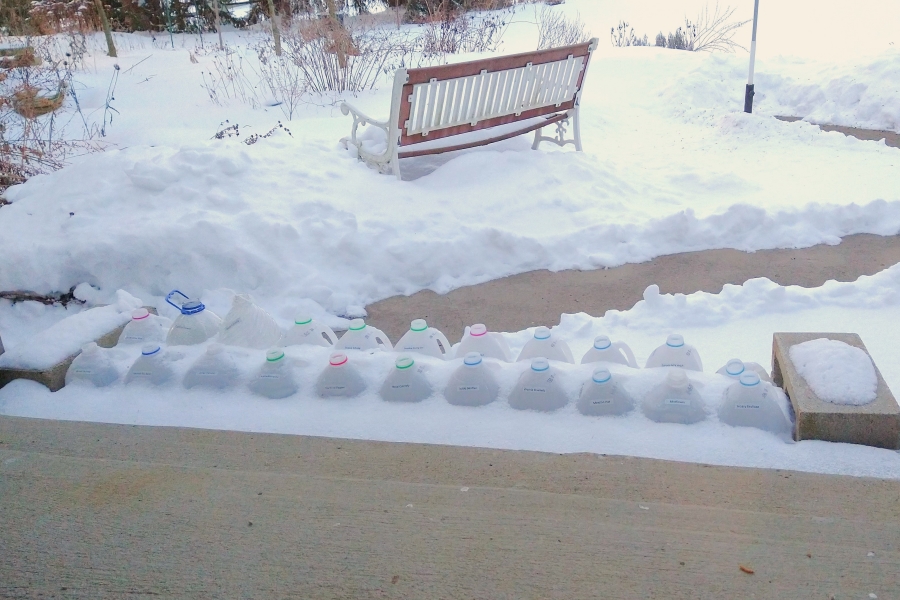
I set winter sown jugs on a long back step where they will get rain and snow. The lids are off so a bit of rain gets in but the drainage holes will keep it from getting waterlogged.
Here they are, a beacon of hope for the gardening season to come. The final step will be to place concrete blocks on either end with a rope across the front so they don’t get knocked over by visitors (chipmunks, squirrels, opossums, raccoons) or high winds.
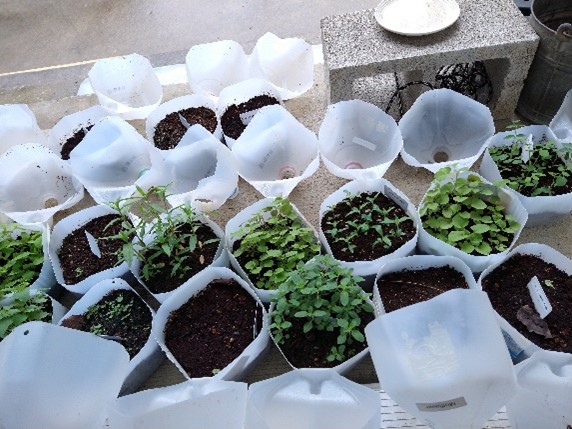
In a few weeks I will start looking down through the tops and get a thrill when seeds have begun to germinate. Stay tuned!

This may be the scene in yet this winter…
And with some luck, we’ll be looking at some seedlings by spring!
Photos by Terri Litchfield unless otherwise noted
© Terri and Randy Litchfield, some rights reserved (CC-BY-NC)

Thanks for the update. When do you plant the seeds that don’t need cold stratification?
Your instructions and photos are so awesome and easy for beginners to follow! Can’t wait to see the seedlings!